Installing security cameras is a practical way to protect your home or business, providing peace of mind through constant monitoring. CCTV installation and mounting security cameras has become more accessible with advancements in technology, even for beginners. This guide will walk you through the essential steps to set up a robust surveillance camera setup, ensuring proper functionality and coverage.
Step 1: Plan Your Security System
Before purchasing or installing cameras, take some time to plan your security surveillance system carefully. Identify key areas you want to monitor, such as entry points, driveways, or large open spaces. Ideally, CCTV cameras should have an unobstructed and open view, and be positioned high enough to deter tampering.
Here are some tips for creating an efficient plan:
- For outdoor cameras, ensure they cover doors, windows, and driveways.
- For indoor setups, position cameras in high-traffic areas like hallways or living rooms.
- Avoid areas with extreme light conditions, as direct sunlight or glare may distort footage.
Step 2: Select the Right Camera Type
Choosing the right camera depends on your needs. Wired security cameras provide reliability and consistent power, while wireless options are easier to install and maintain. Popular CCTV camera types include:
- Wired Cameras: Require professional installation but offer a stable connection.
- Wireless Cameras: Easy to set up and can connect to Wi-Fi.
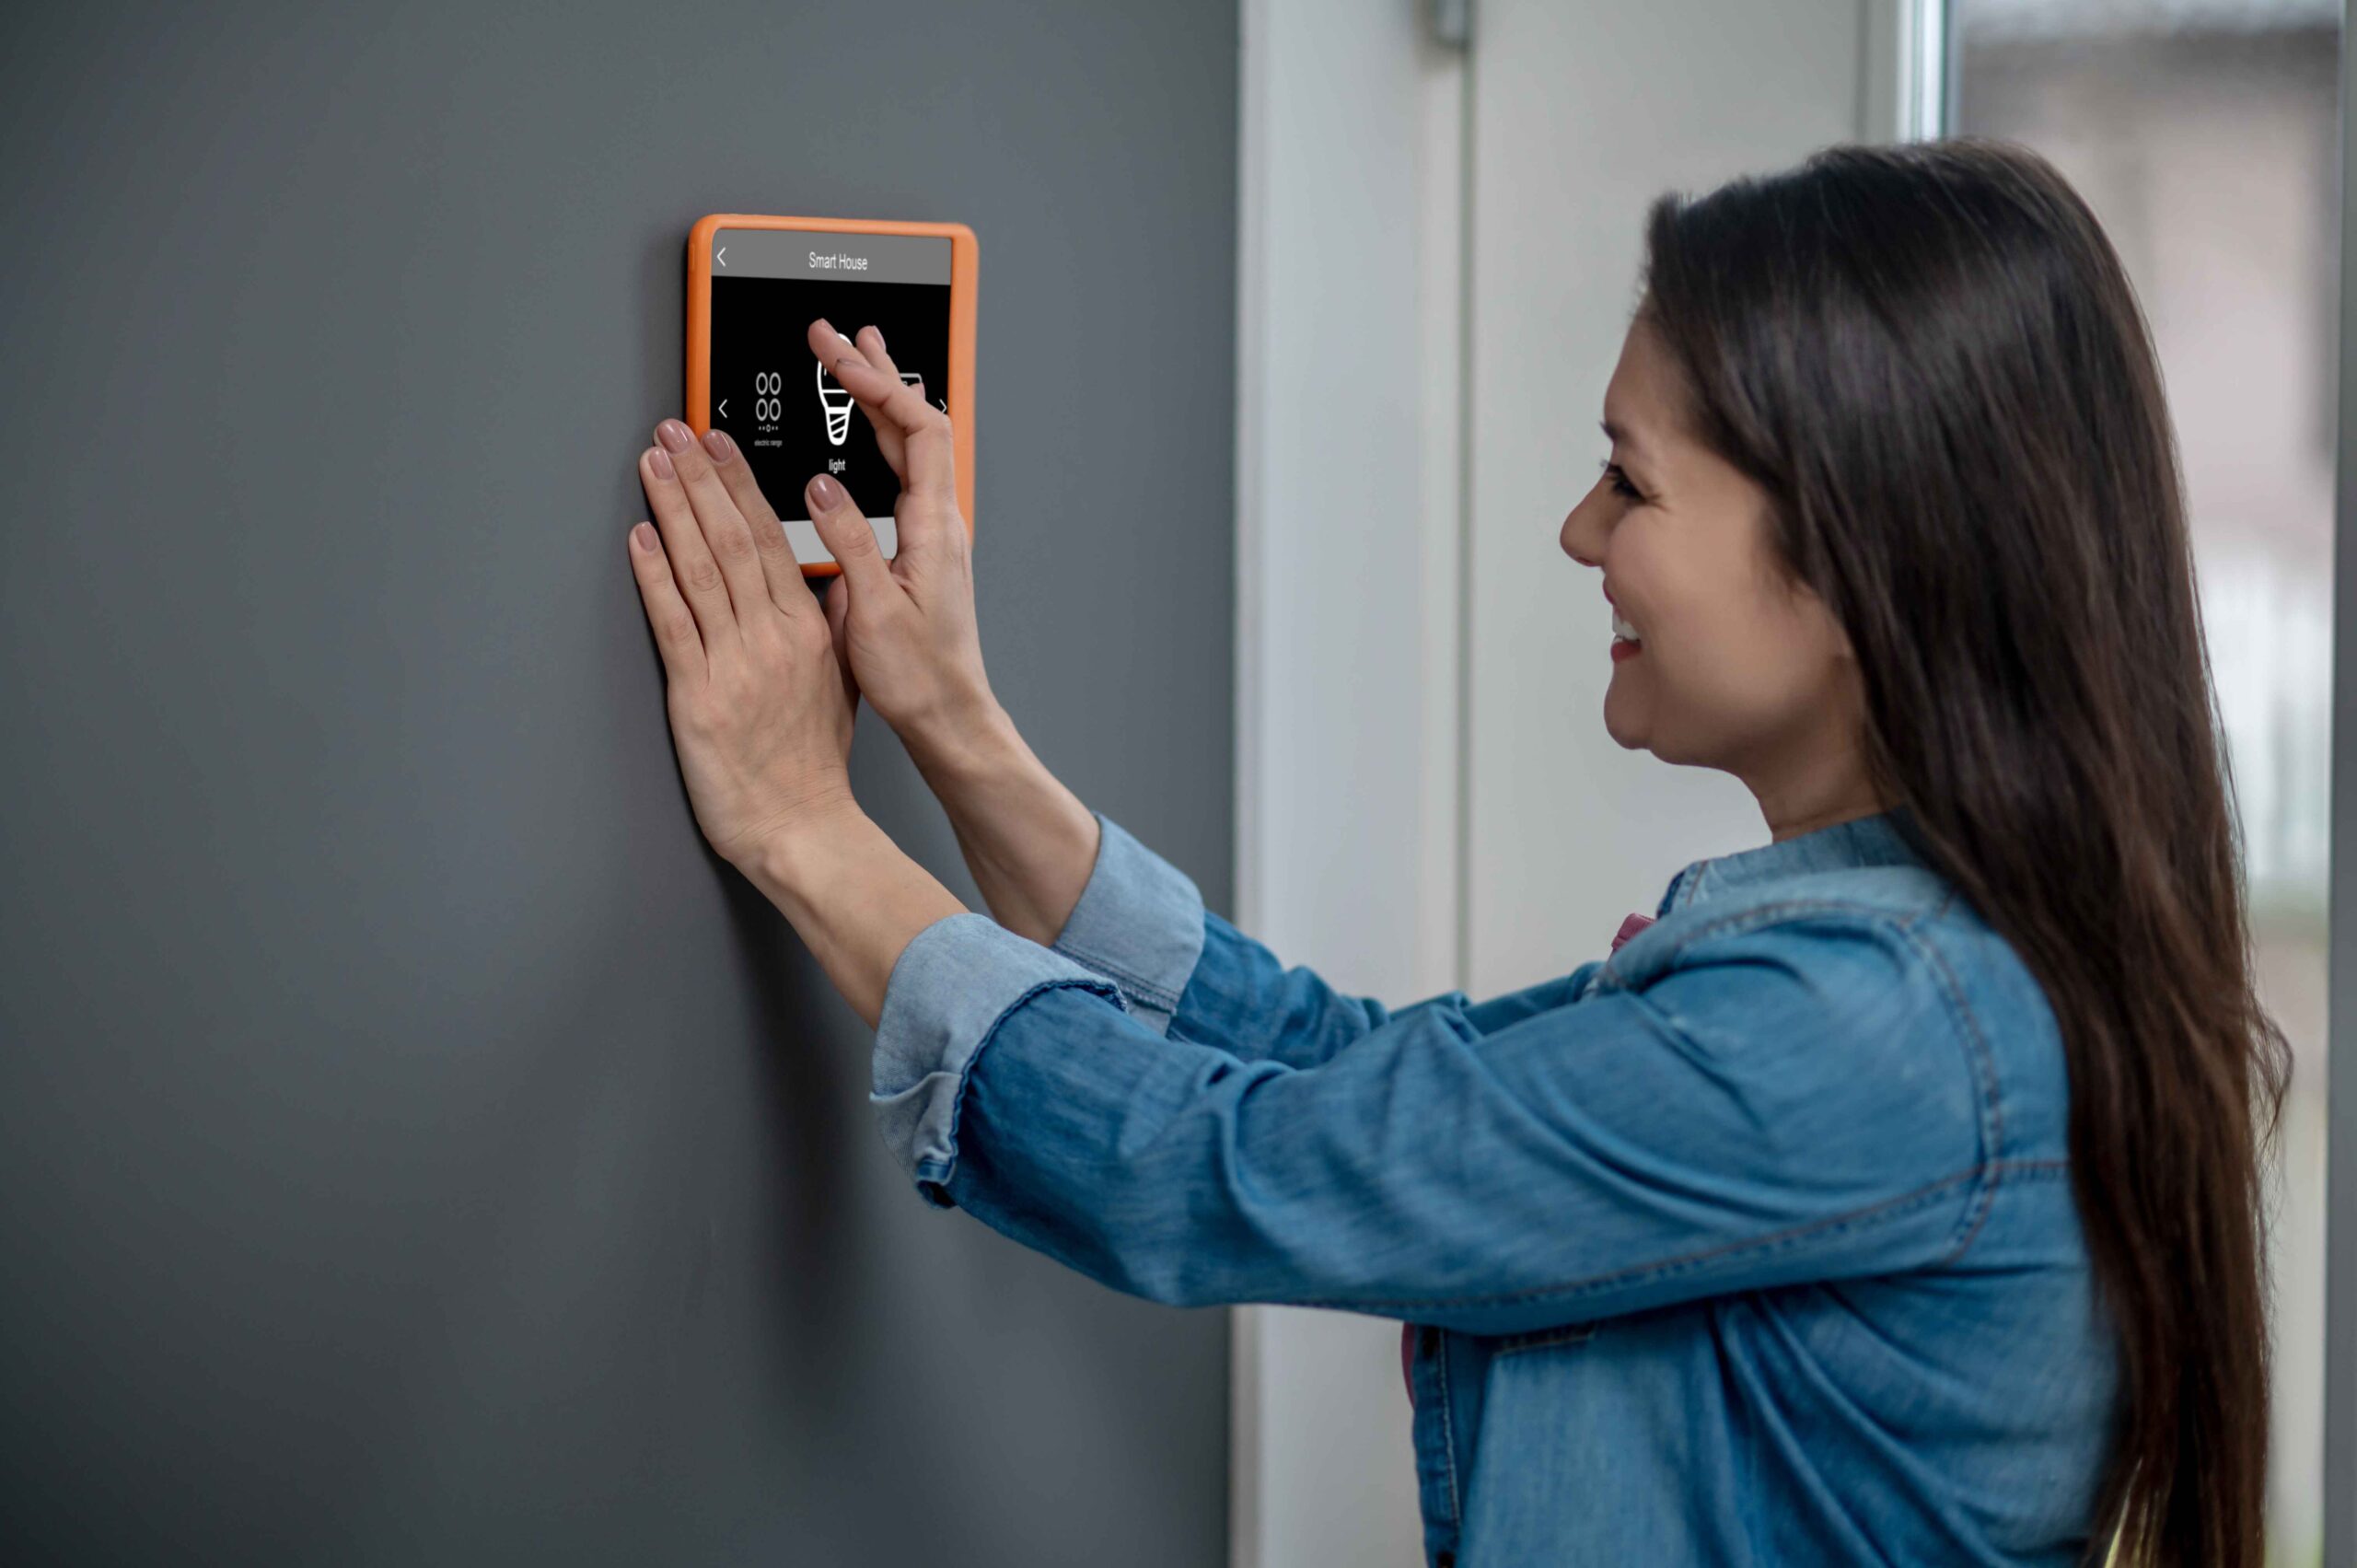
- Smart Cameras: Allow remote viewing through mobile apps.
For a seamless surveillance camera setup, check if the cameras support features like night vision, motion detection, and weather resistance for outdoor use.
Step 3: Prepare Your Equipment
Once you’ve selected your cameras, gather the necessary tools and equipment:
- Drill (for mounting security cameras)
- Screws and wall anchors
- Ethernet cables or power cables (for wired cameras)
- A ladder for outdoor or high placements
Check your camera manual for specific requirements, such as cable types or connectivity protocols.
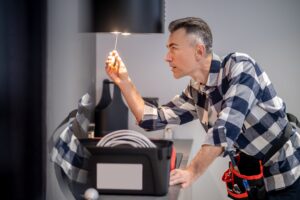
Step 4: Mount the Surveillance Cameras
Proper mounting of security cameras is crucial for achieving the best field of view and ensuring long-term stability.
Follow these steps:
- Mark the drilling points on the wall using the camera’s mounting plate as a guide.
- Drill holes and insert wall anchors to secure the security camera firmly.
- Attach the CCTV camera bracket to the wall and mount the camera.
- Adjust the angle to cover the desired area and tighten all screws.
For outdoor surveillance cameras, ensure they are weatherproofed, and use protective conduits for cables to prevent wear and tear.
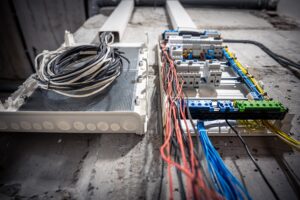
Step 5: Connect to Power and Network
- For Wired Cameras: Connect the power cables and Ethernet cables to their respective outlets and the recording device (NVR/DVR).
- For Wireless Cameras: Pair the cameras with your Wi-Fi network using the system’s app. Ensure the signal is strong to avoid connectivity issues.
Configure your cameras to work with mobile apps or cloud storage solutions for remote access.
Step 6: Test the Security System
Test your cameras before finalizing the surveillance camera setup to ensure they’re capturing clear footage and covering the intended areas. Common issues to check include:
- Weak Wi-Fi signal for wireless CCTV cameras
- Poor lighting conditions in the footage
- Blind spots that may leave sensitive areas unmonitored
Make necessary adjustments to camera angles and settings for optimal performance.
Step 7: Regular Maintenance
After installing security cameras, maintaining them is key to ensuring their longevity and functionality.
- Clean camera lenses periodically to remove dirt and debris.
- Check power connections and replace batteries for wireless cameras.
- Review footage regularly to ensure the system is working as intended.
Inspect cables for wear and tear, for wired systems, and replace any damaged components immediately.
Common Mistakes to Avoid
- Ignoring Signal Strength: Always check the Wi-Fi signal strength for wireless setups. Weak signals can result in irregular and broken recording.
- Improper Placement: Position cameras high enough to prevent tampering. Avoid areas with excessive sunlight or shadows.
- Overlooking Coverage: Ensure every key area is monitored. Avoid leaving blind spots.
Cost and Payment Considerations
Installing security involves an initial investment in cameras, recording devices, and possibly professional installation. Here’s a breakdown of potential costs:
- Cameras: Prices range from $50 to $500, depending on features.
- Installation: Professional services typically cost $100–$200 per camera.
- Subscription Fees: Many systems require monthly cloud storage or app fees, averaging $5–$30.
Always check for warranties or return policies when purchasing equipment, Ensure there are no hidden fees for professional installations or maintenance services.
Conclusion
Installing security cameras is a practical and effective way to safeguard your home or business. By following these steps and avoiding common mistakes, you can set up a reliable surveillance camera setup tailored to your needs.
Remember to maintain your security system regularly. Maintenance ensures that your system continues to function efficiently, providing the security and peace of mind you deserve.