Installing a Nest Cam outdoor security camera can enhance your home’s safety and give you peace of mind. You can monitor your property efficiently and deter potential threats with the right setup. This guide walks you through the steps to ensure a smooth and secure Nest security camera installation while addressing common concerns about placement, wiring, and maintenance.
Why Install a Nest Outdoor Camera?
Nest outdoor cameras are designed for reliability and durability. These cameras provide high-resolution video and motion detection features, whether you’re monitoring your front door, backyard, or driveway. According to a study by the University of North Carolina, 60% of convicted burglars admitted they would avoid homes with visible security cameras. Installing a Nest outdoor camera wiring system ensures continuous surveillance, making your home a less appealing target for intruders.
Tools and Materials Needed
Before starting, gather the following:
- Nest Cam Outdoor camera
- Drill and drill bits
- Screwdriver
- Anchors and screws (provided with the camera)
- Weatherproof extension cables (if needed)
- Electrical tape
- Ladder
Having the right tools at hand will make installing the Nest outdoor camera straightforward and efficient.
Step 1: Choose the Right Location
Selecting the perfect spot is critical for optimal camera performance. Here are some tips:
- Entry Points: Mount the camera near doors, windows, or gates to monitor access points.
- Height: Position the camera 8-10 feet off the ground. This height is low enough to capture details but high enough to deter tampering.
- Field of View: Ensure the camera covers the widest area possible without obstructions. Corners often work best.
- Light Sources: Avoid direct sunlight or glare, which can affect video quality.
If you’re mounting a Nest outdoor camera, consider nearby power outlets or ensure the cables can reach an indoor socket.
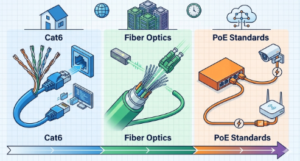
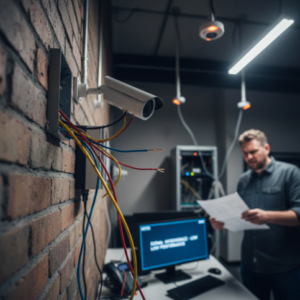
Step 2: Plan the Wiring
The Nest Cam Outdoor is primarily a wired camera, requiring careful planning for cable management. For Nest outdoor camera wiring, follow these steps:
- Drill Holes: Use a drill to create entry points for the cable. Ensure the hole is slightly larger than the wire diameter.
- Run the Cable: Guide the wire through the drilled hole using fish tape for clean installation. Secure it with clips or raceways to prevent damage.
- Weatherproofing: Use silicone or rubber grommets to seal the hole, protecting the wiring from moisture and pests.
Consider weatherproof extension cables for homes without nearby outlets to power the camera effectively.
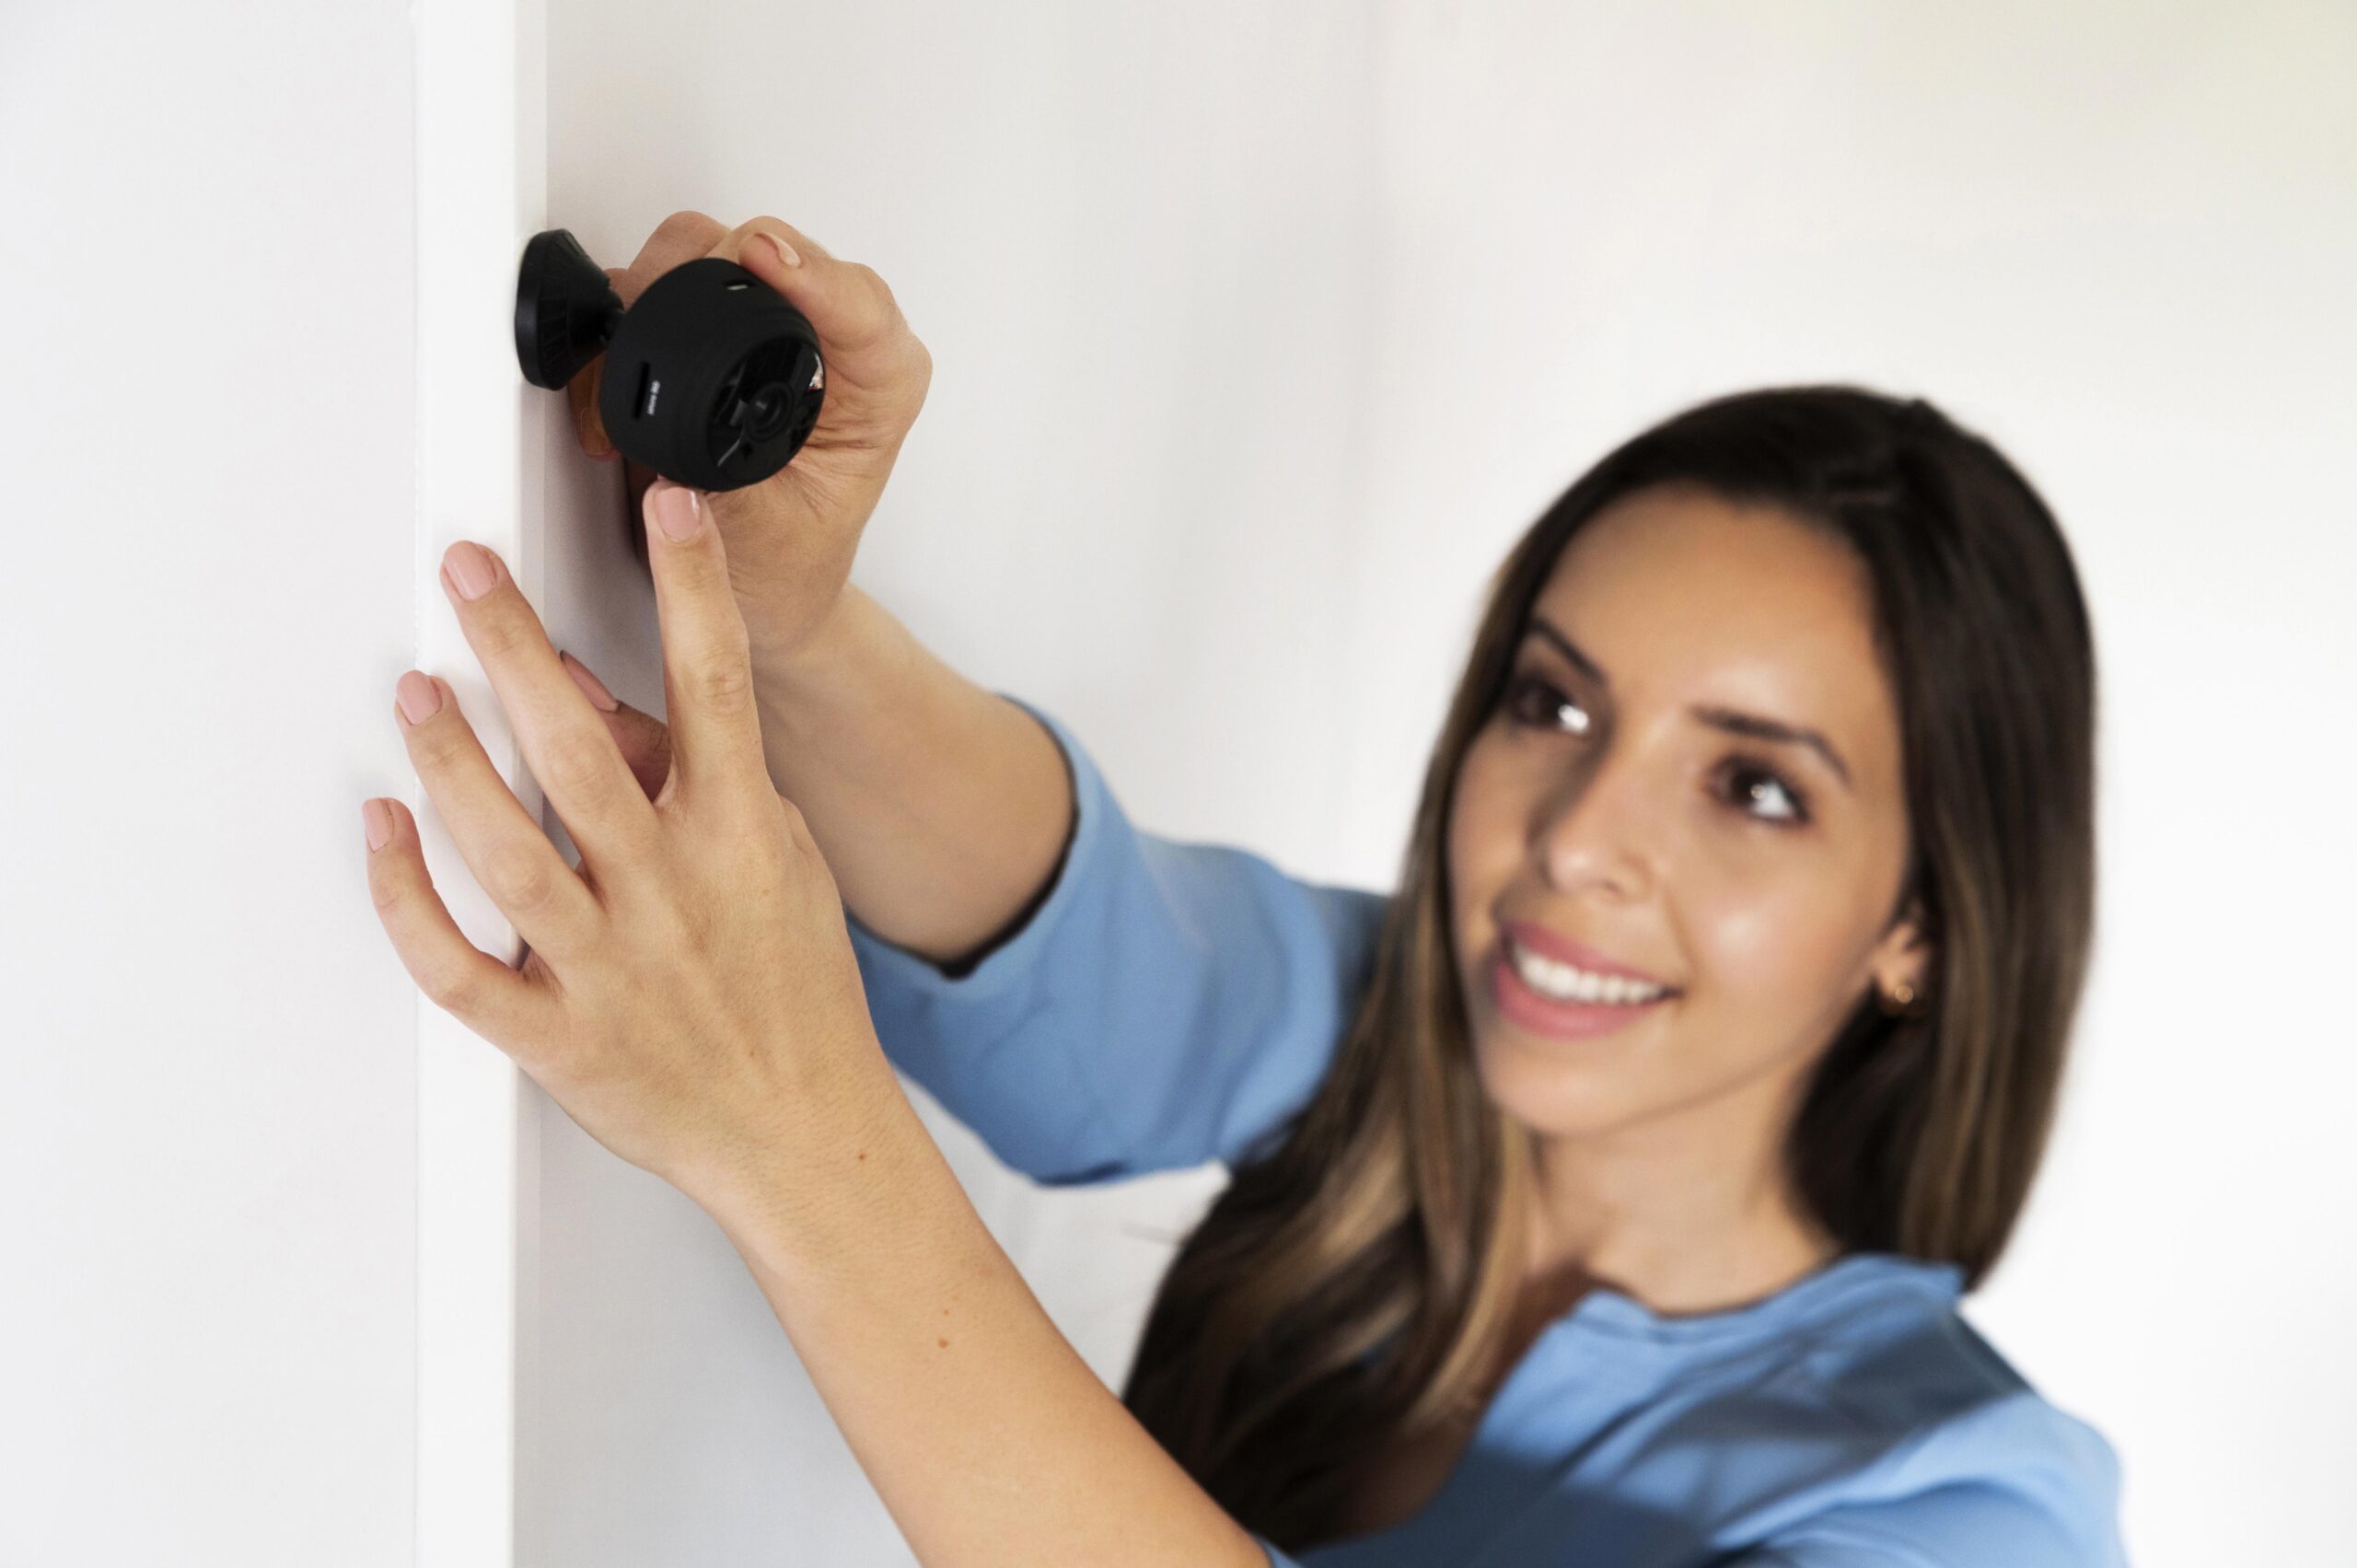
Step 3: Install the Camera
Once the location and wiring are prepared, it’s time to mount the camera:
- Mark Drill Points: Hold the camera’s base against the wall and mark the spots where screws will go.
- Drill and Secure: Drill holes at the marked spots, insert anchors, and attach the camera base using screws.
- Mount the Camera: Attach the camera to the base, adjusting the angle to capture the desired view.
- Connect Power: Plug the camera’s cable into the power adapter and connect it to an outlet.
Installing a Nest outdoor camera securely ensures it stays in place and functions optimally, even in harsh weather conditions.
Step 4: Set Up the Camera in the App
Download the Nest app and create an account if you don’t already have one. Follow these steps:
- Open the app and select “Add Device.”
- Scan the QR code on the camera or manually enter the serial number.
- Connect the camera to your Wi-Fi network. Ensure the signal is strong in the installation area.
- Adjust the settings, such as motion detection zones and notifications.
The app is your control hub, allowing you to view live footage, review recordings, and customize alerts.
Step 5: Test and Adjust
After installation, test the camera to ensure everything is working:
- Check the live video feed for clarity and coverage.
- Adjust the angle if needed to reduce blind spots.
- Verify motion detection and notification settings.
Routine checks and adjustments can prolong the life of your camera and ensure it operates effectively.
Maintenance Tips
To keep your Nest Cam outdoor system in top condition:
- Clean the Lens: Wipe the lens periodically to remove dirt and debris.
- Inspect Wiring: Check for wear or damage in the cables.
- Update Software: Keep the app and camera firmware up-to-date for optimal performance.
- Recharge or Replace Batteries: If using a battery-powered model, charge it every 3-6 months or as needed.
Final Thoughts
Installing a Nest Cam Outdoor security camera is a smart investment in home safety. By following this guide, you can ensure a seamless installation process and reliable performance. These cameras are designed to provide peace of mind and comprehensive protection, from Nest security camera installation to ongoing maintenance.
By integrating proper wiring and placement techniques, you can maximize the effectiveness of your camera system. Remember, a well-installed camera is not just a security tool; it’s a proactive step toward a safer home.